Deploy Apps with PSADT

Introduction
Application packaging in Intune is fun! It can be done in many different ways, but I prefer to use PSADT when I deploy apps.
If you are experienced in app deployment, you might have heard about PSADT (PSAppDeployToolkit) and even used it. In this blog post, we will take a look at deploying apps with PSADT.
Structure of the PSADT Folder
It's not a requirement to use PSADT in order to deploy Win32 apps; I have created this blog that shows how it can be done without.
- The first step is to head to the PSADT website and click on download. This will redirect you to the Github page, where you can download the latest version.
- When it's downloaded, I extract it, and normally I rename the toolkit folder to the application I will deploy. In this case, I will rename it to Google Chrome.
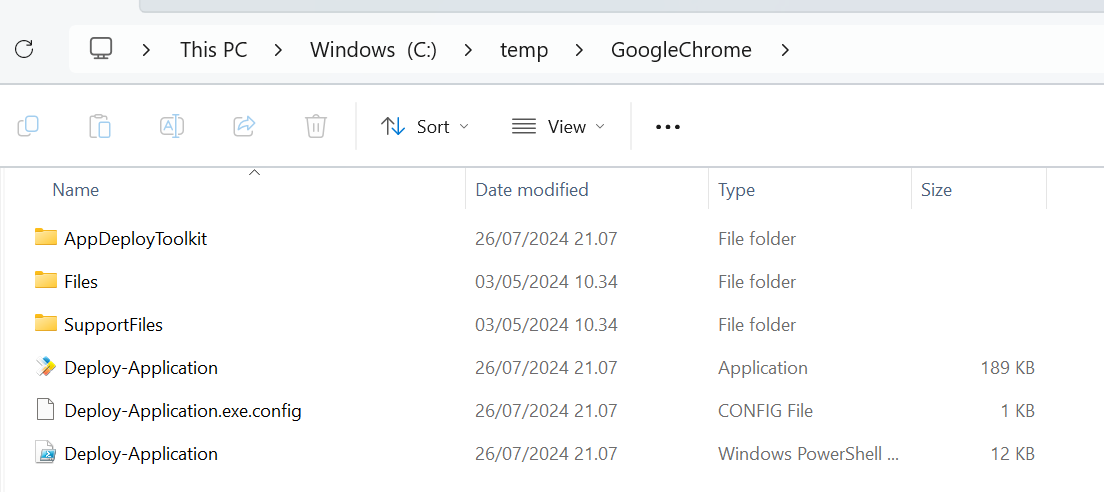
- Now, we have a folder full of files, but what do we need to do with all those files? If you want a more in-depth explanation, I would recommend you read the official docs.
The most important thing you have to know as of now is:
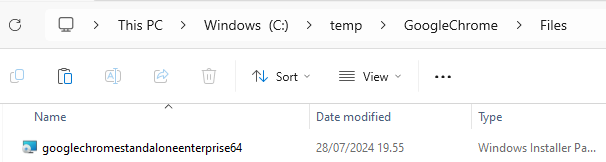
- Files
- The files folder is where you will place your installation files; as an example, it could be the msi file for Google Chrome.
- SupportFiles
- Next, the folder named supportfiles is where you will normally place any additional files for your deployment. After Chrome has been installed, we would like to copy bookmarks.
- Deploy-Application.exe
- Deploy-Application.exe can be used when you are ready to deploy the application. Basically, the .exe file will call the .ps1 in order to perform the actions specified.
- Deploy-Application.ps1
- The Deploy-Application.ps1 file is where you will spend the most of your time. This is where we will do the magic and specify what action we would like to take (e.g. installation or uninstallation)
Structure of the Deploy-Application.ps1
Open the Deploy-Application.ps1 file, and by first glance, you might think there is a LOT of information in here. What if I told you, this is actually pretty straight forward.
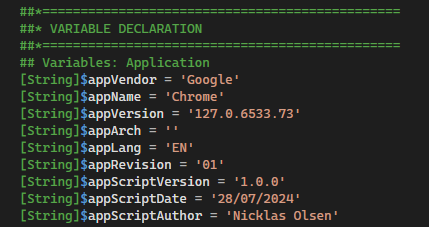
- Scroll down until "variable declaration". Here you can input some useful information, such as application vendor, name, version, etc.
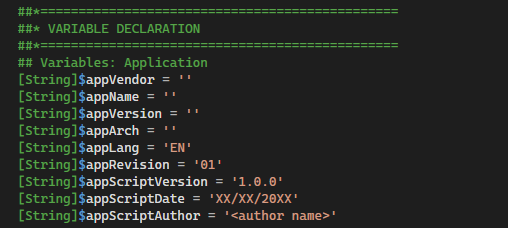
Normally, I fill out the application vendor, name and version in order to help the next person looking at this package. Lastly, I will fill out the script date and script author.
- From here, scroll down to where you can see pre-installation.

If you scroll further down, you can see there are different sections such as pre-installation, installation, post-installation, and so on.
As an example, if you would like to remove older versions of Chrome before installing the newest, you can do that in the pre-installation section. If you would like to copy a shortcut of Chrome after installation, this can be done in the post-installation section.
For uninstallation, the same follows: pre-uninstallation, uninstallation, and post-uninstallation.
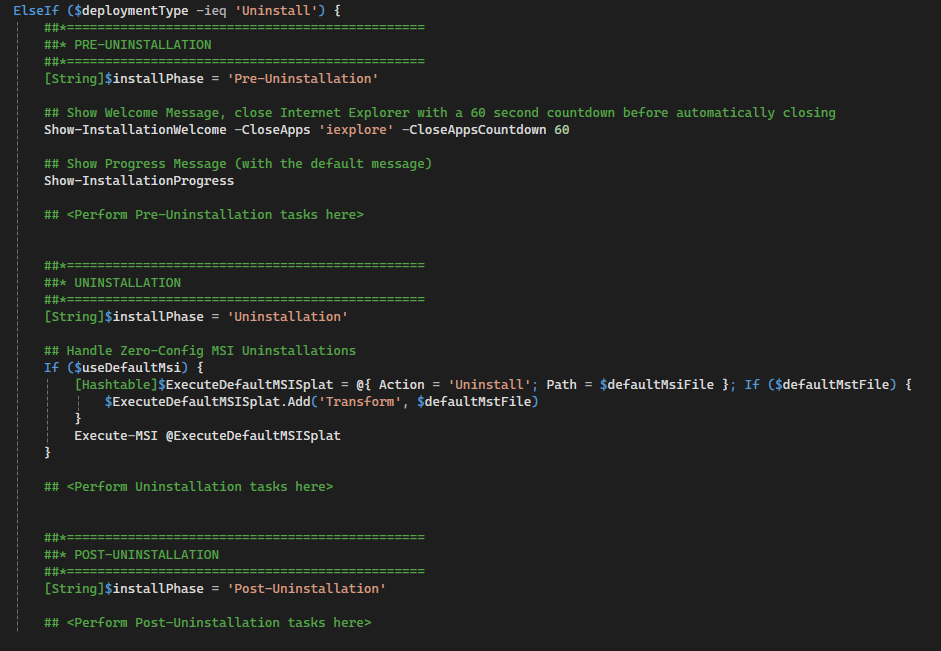
Lastly, there are sections called repair. The same follows for those three sections.
Deploy Chrome with PSADT
Now, we have taken a brief look at the folder and the Deploy-Application.ps1 structure of PSADT. Next, we need to do some actual work and prepare for our Google Chrome deployment.
- First of all, we need to get the MSI file for Chrome. It can be downloaded from here. When that's downloaded, we will place our installation file in the files folder.
- Head into Deploy-Application.ps1 and fill out the information regarding the application and the author. Here is an example of how I do it.
- Once that's done, scroll down to the installation section. This is where the magic will happen. You've probably noticed the perform installation tasks here, that is where we will write our code.
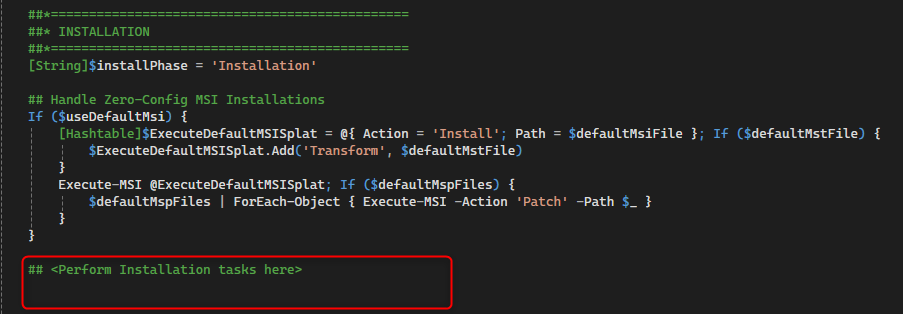
- The team behind PSADT has created some really great functions to make it easy for us. In the docs, look for the Execute-MSI function.
We can re-use the example from the docs, so the installation task for Chrome can look like this:

By default, the Execute-MSI will look in the files folder, so I can actually just write the name of the MSI.
- Now, we have the installation tasks in order. But what about the uninstallation? We need that! Scroll down to the uninstallation section.
You've probably guessed it, but there is a function for this. It's called Remove-MSIApplications. It will look through the registry editor and see if there is a match on "Google Chrome".

- Now, we are finished, and it's time for testing!
We need to make sure it works!
When deploying applications from Intune in SYSTEM context, it can sometimes cause some issues. Before I upload my application to Intune, I test it locally on a VM and make sure it works.
- We need to grab and download PsExec, as we will be using this for testing. Make sure to extract the folder after it's finished downloading.
- Open CMD as admin and change directory into where the PsExec file is located.

- In order to kick off PsExec, I use the following command:
PsExec.exe -s cmd.exe
- When it's finished loading, change directory into your PSADT folder and specify .\Deploy-Application.exe Install
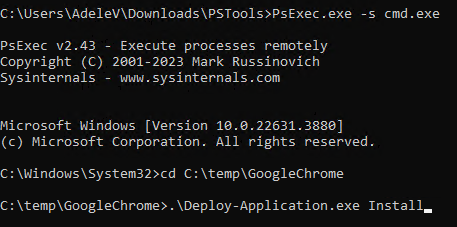
If the installation is successful, it will return "Exit 0" in the console.
- Lastly, if you would like to test the uninstallation, just make sure to specify uninstall instead of install.
Upload the App to Intune
The app has been tested, and we are now ready to upload it to Intune. We will upload it as a Win32 app.
- Wrap Deploy-Application.exe with the Win32 content prep tool.
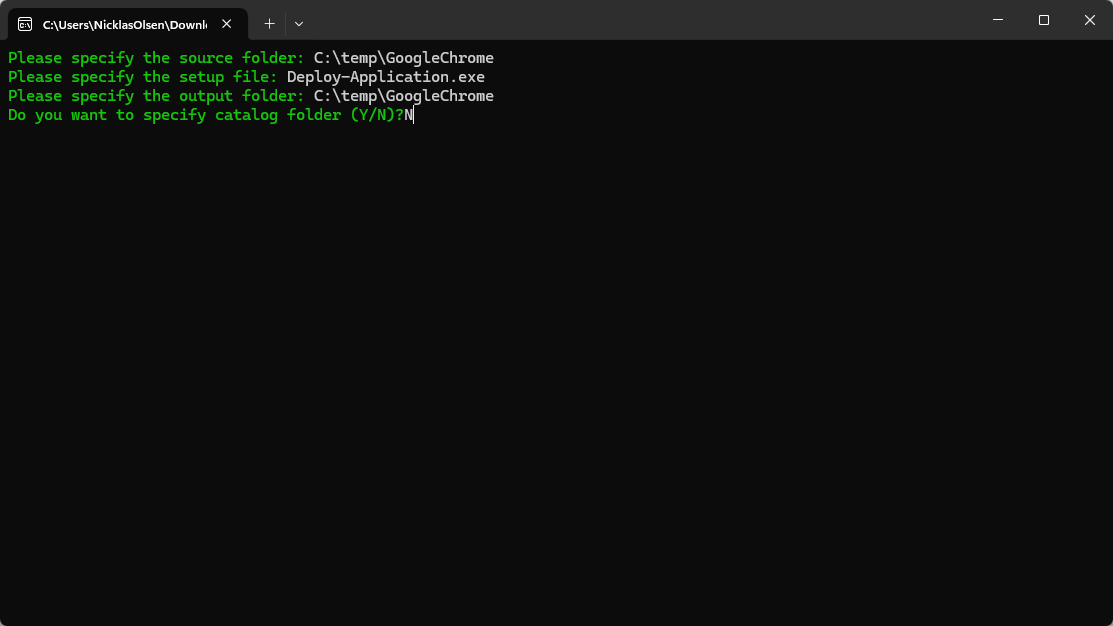
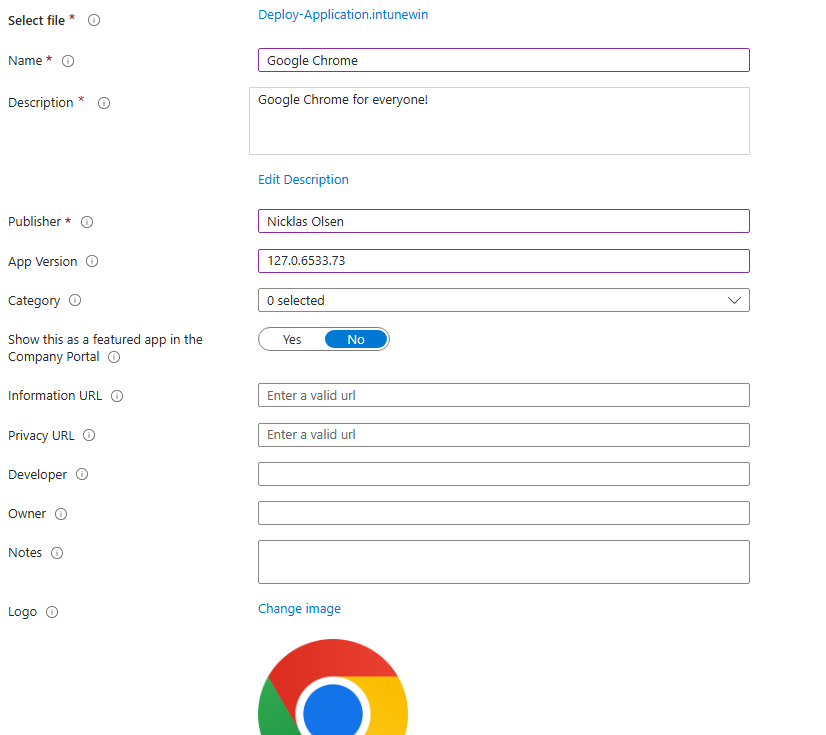
- Fill out the app information and continue to the next page.
- The installation and uninstallation commands are very easy. We will be calling the .exe file and the action.

- I will not go into details with the requirements, so I will just jump to detection rules. For the detection rule, I will check the product code of the MSI file and verify if it equals the specific version.
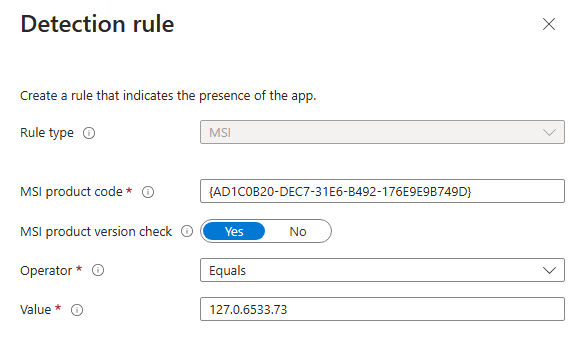
For this example, you can find the product code and the version in the following registry path: HKLM\SOFTWARE\Microsoft\Windows\CurrentVersion\Uninstall
- Lastly, I will make my assignments and create the application.
Logging
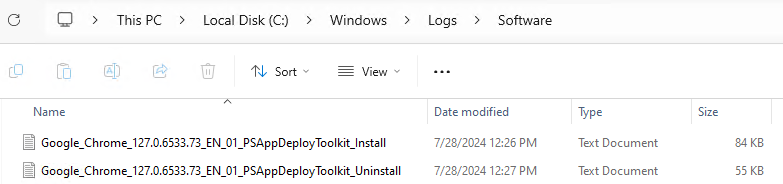
When you are deploying software with PSADT, the standard logpath will be in "C:\Windows\Logs\Software". This can be modified from the AppDeployToolkitConfig.xml file under the AppDeployToolkit folder.

When you've performed an action, such as installing or uninstalling, a log file will be created.
Always, when reading logs, I will recommend using CMTrace because it will make the logs much easier to read.
With a quick glance at the logs, we can see a lot of useful information. In this case, we would like to see what happened in the installation phase. Pretty good, right?

Conclusion
If you haven't used PSADT before, I would recommend you take a look at it. Thanks for reading this blog, I hope it was useful for you!